


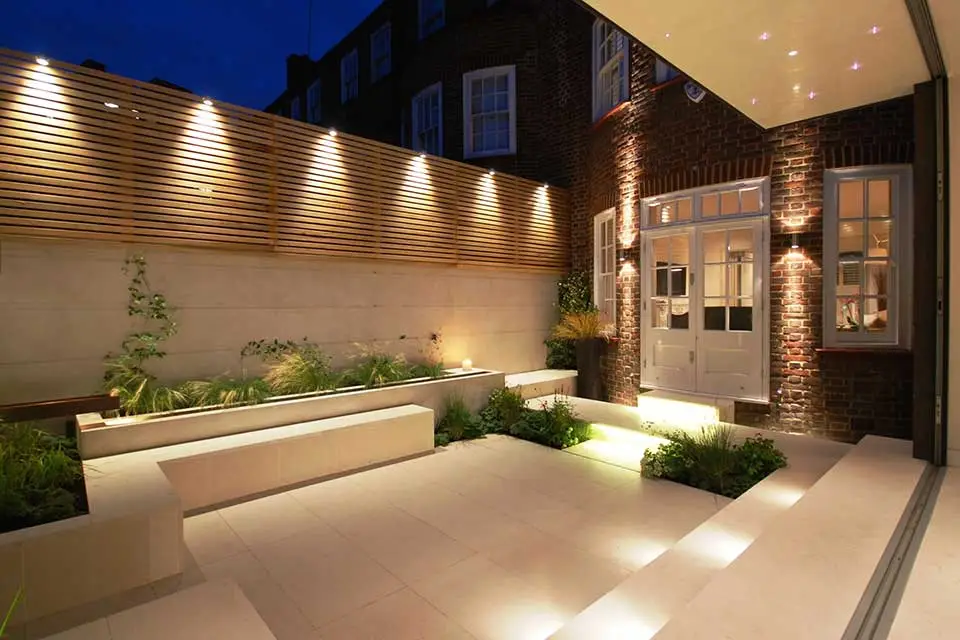
Good garden lighting is the difference between a garden you glance at through the kitchen window and one you actually sit in after dark. It is mid-July, the evenings are long, and this is exactly when most people finally buy some lights — a set of matching bollards, spaced evenly down the path, switched on, and the result looks less like a garden and more like the approach to Manchester Airport.
Here is how to light a UK garden so it looks considered rather than simply switched on, plus the handful of spec and wiring details that decide whether your scheme survives its first wet autumn.
Plan your garden lighting around what you actually want to see
The usual mistake is to buy fittings first and work out where they go later. Start the other way round. Walk the garden after dark and pick the three or four things genuinely worth looking at: a path or a flight of steps for safety, one or two focal points such as a specimen tree or a textured wall, and the area where you actually sit.
Then — and this is the part most guides skip — deliberately leave everything else dark. Contrast is what makes a garden work at night. Light every corner evenly and you flatten it into a car park, but three well-lit features with shadow between them read as depth. So think in three simple layers:
- Functional: paths, steps and doorways, so people can move about safely.
- Accent: uplighting a tree, or grazing a beam across brick or render to show off its texture.
- Ambient: a soft, warm wash over the seating or dining area.
The IP rating that actually matters (and where “IP65” is not enough)
Every outdoor fitting carries an IP rating — two digits describing its resistance to dust and water. Most articles tell you to buy IP65 and stop there. IP65 is the right baseline for anything mounted above the soil, such as a waterproof wall light or a spike spotlight sitting up in a border. It is dust-tight and shrugs off rain and hose spray.
Anything set into the ground is a different story. Recessed paving and deck lights and in-ground uplights sit in the one place water collects. In a proper British downpour that recess becomes a small puddle that drains slowly, so the fitting has to survive being briefly underwater. That means IP67 — dust-tight and rated for temporary immersion to one metre — not IP65. Anything in or beside a pond should be IP68, which is rated for continuous immersion.
The reassuring part is that IP67 costs only marginally more than IP65, so there is rarely a good reason to gamble on a ground-level fitting. Check the rating on the recessed lights specifically. It is the single most common reason garden lights fail in their first year.
Powering garden lighting: 12V or mains?
This is the decision people most often get wrong, and it carries legal as well as practical weight. There are two ways to power garden lighting.
Mains (230V) is the brightest and most permanent option, but running a new outdoor circuit is notifiable work under Part P of the Building Regulations in England and Wales — and in Wales, all outdoor electrical work is notifiable. It has to be a dedicated circuit on a 30mA RCD, using armoured (SWA) cable for buried runs, and it must either be signed off by Building Control or installed by an electrician on a competent-person scheme. That is not a DIY Saturday.
Low voltage (12V) is what most domestic gardens should use. A weatherproof transformer plugs into an outdoor socket and feeds a 12V cable that you clip fittings onto and bury shallowly along the borders. The low-voltage side is safe to handle and genuinely DIY-friendly, and you can extend it later with connectors without calling anyone out. The one catch is that you still need that outdoor socket — and if you do not have one, fitting it is itself the notifiable part, so budget for an electrician if you are starting from scratch.
Get the colour temperature right — warm, not “car park”
After overlighting, the biggest aesthetic mistake is cool white. Anything at 4000K or above makes foliage look grey and lifeless and gives the whole garden a petrol-forecourt feel. Stick to 2700K — warm white. It flatters planting, timber and brick, and reads as relaxing rather than merely functional.
There is a second reason to stay warm that matters more in the UK than people realise. The Institution of Lighting Professionals and the Bat Conservation Trust advise that LEDs at 2700K or lower are significantly less disruptive to bats and other nocturnal wildlife, which are legally protected. So if your garden backs onto hedgerows, mature trees or open country, warm and well-aimed light is not just prettier — it keeps you on the right side of the law.
Running cost is not the worry it once was either: modern LEDs use around 80% less electricity than the old halogen spike lights, so an evening of warm garden lighting costs pennies.
Beat the “runway effect”
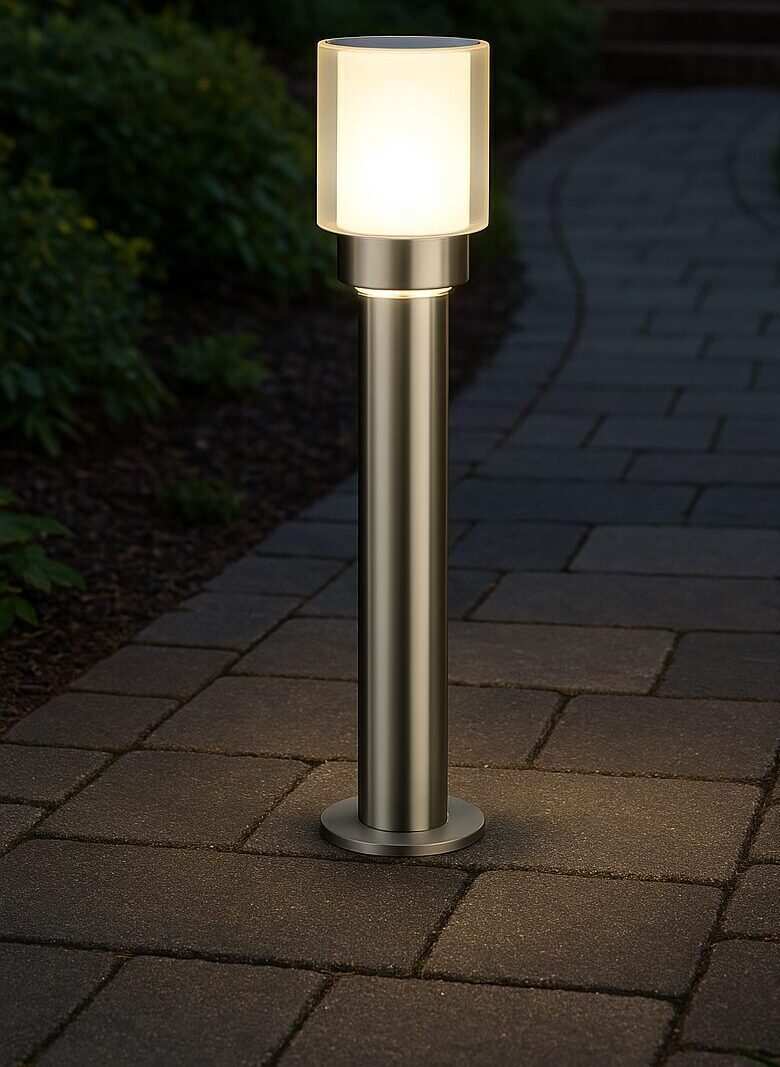
The classic cheap-looking scheme lines both sides of a path with identical, evenly spaced lights. That is the airport look, and no amount of money spent on the fittings will rescue it. Do the opposite instead:
- Light one side of a path only, and stagger the spacing so pools of light overlap gently with shadow between them.
- Better still, light the path indirectly — a couple of spike spotlights grazing across from the planting, or a downlight from a nearby wall.
- Aim and shield every fitting so the beam points away from where you sit and away from your neighbours’ windows.
Glare is what makes cheap garden lighting look cheap; a shielded, downward beam always looks more expensive than a bare, bright source. For decking or steps, hidden LED strip tucked under a nosing gives a clean line of light with no visible fitting at all — the trick most high-end schemes quietly rely on.
Solar or wired? An honest answer
Solar is tempting — no cable, no socket, nothing to run. But be realistic about the UK climate. Solar garden lights are dim, and from October to February, when you most want light at five o’clock, the panels barely charge. The colour tends to drift cold and blue, too.
Solar is fine for gentle marker lights, seasonal sparkle, or a spot you genuinely cannot cable to. It is not fine for anything you are relying on to look good, or to light a seating area every evening. For that, wired — ideally 12V — earns its keep every night of the year.
What a decent scheme actually costs
You do not need a fortune. Good individual path and paving fittings sit at around £20 to £65 plus VAT each, and a smart small garden lighting scheme is a handful of those plus a transformer. Spend where it shows — the focal-point uplights and the fittings nearest the house — and buy cheaper marker lights for the corners you will barely notice.
The one rule to take away
If you remember nothing else about garden lighting, remember this: pick the three things you most want to see after dark, light those well in warm 2700K, make sure every ground-level fitting is IP67, and leave the rest in shadow. That single discipline is what separates a garden that looks designed from one that just looks decorated.
Ready to plan yours? Browse our paving and ground lights and the full outdoor lighting range — all built for British weather, with free UK delivery on orders over £50.